Document updated on Oct 16, 2025
Configuration Guide for KrakenD API Gateway
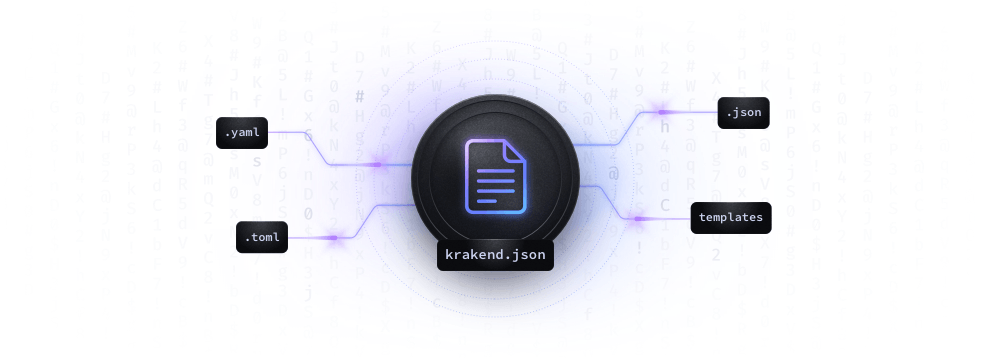
All the setup a KrakenD server needs to operate is a single configuration file. This file is referred to as krakend.json throughout all the documentation.
The name krakend.json is simply an alias, a convention that we use everywhere. Your real configuration file can have any name, multiple formats (such as YAML or TOML), be stored anywhere, or be split into numerous pieces.
With this simple configuration mechanism in place, versioning and automation are very convenient. Any change to the API Gateway or the AI Gateway is always under version control, and the code controls the state of the gateway.
Generating the configuration file(s)
The configuration file is how you provide instructions to KrakenD. To start your first KrakenD configuration, you can:
- Use the KrakenD Playground and start editing its configuration from a working environment with several use-case examples.
- Use the online configuration editor KrakenDesigner.
- Start a file from scratch or from a template
The KrakenDesigner is a simple javascript application that helps you understand some of the capabilities of the API Gateway and helps you set the different values for all the different options. Using this option, you don’t need to learn and write from scratch all the attribute names. You can download the configuration file at any time and load it to resume editing. The Kraken Designer is a pure static page that does not send any of your configuration elsewhere.
To start editing from scratch, use a modern IDE with JSON Schema integration, and play with the autocomplete! Here’s a starting point:
{
  "$schema": "https://www.krakend.io/schema/v2.13/krakend.json",
  "version": 3,
  "debug_endpoint": true,
  "echo_endpoint": true,
  "endpoints": [
    {
      "endpoint": "/test",
      "backend": [
        {
          "@comment": "Connect KrakenD to KrakenD itself as backend!",
          "host": [
            "http://localhost:8080"
          ],
          "url_pattern": "/__echo/test"
        }
      ]
    }
  ]
}
Start KrakenD and connect to http://localhost:8080/test or http://localhost:8080/__health now.
Understanding the configuration parts
Whether you choose to start with the KrakenDesigner, a template, or from scratch, we recommend that you understand the configuration structure and edit the file(s) by hand as soon as possible. Always run the linter after you finish editing to make sure you have a valid configuration.
Read the introduction to the configuration file to understand the different parts of the configuration.
Supported file formats
Throughout all the documentation, we refer to the configuration file as the krakend.json file; however, you can also express the configuration file using .json, .toml, or .yaml extensions. For more information and recommendations, see supported file formats.
Validating the syntax of the configuration file
Validate the syntax (not the logic) of your configuration file using the krakend check command:
Check the configuration
$krakend check --lint --config ./krakend.toml --debugWhen the syntax is correct, you’ll see the message Syntax OK!; otherwise, the error is displayed.
You can, of course, start the service directly without checking, and KrakenD will do everything possible to start the service (even if there are configuration inconsistencies, at your own risk), but never send a configuration to production without passing the lint first
Read more about krakend check
Contribute to KrakenD Documentation. Improve this page »
